일반 로컬 환경에서 Terraform을 사용하는 경우 terraform.tfstate 파일을 잘 관리해야 한다.
terraform.tfstate 파일은 Terraform이 관리하는 인프라 상태 정보를 담고 있으며, 이를 통해 Terraform 은 변경 사항을 추적하고 관리한다. 만약 terraform.tfstate파일이 유실되거나 실수로 삭제되면, 이전 상태로 복원할 수 없게 되는 정말 끔찍한 상황을 맞이하게 된다.
Terraform Cloud는 이러한 문제를 해결하기 위해 원격으로 terraform.tfstate 파일을 안전하게 관리할 수 있도록 지원한다. 이를 통해 로컬에서 발생할 수 있는 다양한 문제를 예방할 수 있다.
또한, Terraform 코드를 Git 저장소를 통해 관리하면 코드를 안전하게 보관할 수 있고, .tf 파일들의 변경 내용을 추적하고, 이전 버전으로 복원할 수 있다. 이를 통해 코드 변경 내용의 추적 및 관리를 용이하게 할 수 있다.
Terraform Cloud나 Git 저장소를 사용하는 경우에도, terraform.tfstate 파일을 주기적으로 백업하고 관리하는 것이 좋다. 그래야 언제든지 이전 상태로 복원할 수 있는 대비책을 마련할 수 있기 때문이다.
이번 포스팅에서는 로컬 환경에서 관리하는 terraform.tfstate파일을 Terraform Cloud로 마이그레이션 하고, 테라폼 코드는 Github를 통해 관리하는 구성 실습을 다룬다.
주의
Terraform Cloud로 tfstate 파일을 업로드할 때 Terraform cli의 버전과 동일한 Terraform 버전을 사용해야 한다. 만약 보다 최신 버전을 사용할 경우 tfstate 파일이 업데이트되어 손상될 수 있다.
실습 구성은 다음 그림과 같다.

실습
1. Terraform Cloud Organization & Workspace 생성
먼저 Terraform Cloud에 접속하여 회원가입 및 로그인 후 Organization와 Workspace를 생성한다.
Terraform Cloud 주소는 https://app.terraform.io/ 이다.

workspace를 만든다.


2. terraform.tfstate파일 마이그레이션
tfstate파일 마이그레이션 실습 전 혹시 모를 비상 상황을 대비하여 terraform.tfstate 파일은 백업한다.
위에서 Workspace를 생성하면 아래와 같이 코드를 넣으라는 문구가 보인다.

위 문구를 로컬 테라폼 코드에 넣어준다.
Terraform Cloud에서 workspace 만들 때 생성한 organization과 workspace이름 정보가 들어가 있다.
## main.tf
terraform {
  cloud {
    organization = "wlsdn3004"
    workspaces {
      name = "terraform-cloud"
    }
  }
}
Shell에서 로컬 테라폼 version을 확인하여 Terraform Cloud 버전과 맞춰준다.
$ terraform version
Terraform v1.2.1


테라폼 버전 1.2.1 선택 후 저장.

우측 상단에 Terraform Cloud 버전이 변경된 것을 확인할 수 있다.

로컬 shell에서 테라폼에 로그인하기 위한 API token을 발급받는다.


만들어진 API token을 토큰을 복사한다.

로컬 shell에서 테라폼 로그인을 한다.
$ terraform login
Terraform will request an API token for app.terraform.io using your browser.

If login is successful, Terraform will store the token in plain text in
the following file for use by subsequent commands:
    /root/.terraform.d/credentials.tfrc.json

Do you want to proceed?
  Only 'yes' will be accepted to confirm.

  Enter a value: yes  ## yes 입력
위에서 생성한 api token을 입력한다.
Generate a token using your browser, and copy-paste it into this prompt.

Terraform will store the token in plain text in the following file
for use by subsequent commands:
    /root/.terraform.d/credentials.tfrc.json

Token for app.terraform.io:
  Enter a value: < terraform api token > ## api token 입력
credentials.tfrc.json 파일에 인증 token 정보가 들어간 것을 확인할 수 있다.
$ cat ~/.terraform.d/credentials.tfrc.json
{
  "credentials": {
    "app.terraform.io": {
      "token": "uYQ8hXxyfHFyGSQhIAXJnfehbLZlNmCLuBMWk9P7BhiUTEUHmeyw2QBU"
    }
  }
}
테라폼 init을 통해 Terraform Cloud로 tfstate 파일을 마이그레이션 한다.
$ terraform init

Initializing Terraform Cloud...
Do you wish to proceed?
  As part of migrating to Terraform Cloud, Terraform can optionally copy your
  current workspace state to the configured Terraform Cloud workspace.

  Answer "yes" to copy the latest state snapshot to the configured
  Terraform Cloud workspace.

  Answer "no" to ignore the existing state and just activate the configured
  Terraform Cloud workspace with its existing state, if any.

  Should Terraform migrate your existing state?

  Enter a value: yes  ## yes 입력

Acquiring state lock. This may take a few moments...
tfstate 파일이 문제없이 마이그레이션 되었는지 확인한다.


이로써 이제부터 terraform.tfstate파일은 Terraform Cloud에서 관리하게 된다.
3. 로컬 테라폼 코드를 Github에 업로드
https://github.com으로 회원가입 및 로그인하여 테라폼 코드를 업로드할 repository를 만든다.

terraform-cloud라는 이름의 Repository를 생성한다.

github repository가 만들어졌으면 local에 있는 테라폼 코드를 push 한다.
## git repository 등록 및 확인
$ git remote add origin https://github.com/jwhong-3004/terraform-cloud.git
$ git remote -v
origin  https://github.com/jwhong-3004/terraform-cloud.git (fetch)
origin  https://github.com/jwhong-3004/terraform-cloud.git (push)

## 테라폼 코드 위치에서 테라폼 tf파일 전체 add
$ git add <.tf 파일 이름>

## git 커밋
$ git commit -m "terraform code push"

## 기본 브랜치인 master로 git push
$ git push origin master
Username for 'https://github.com': < ID >
Password for 'https://< ID >@github.com': <Password>
테라폼 코드가 잘 push 되었는지 github repository를 확인해 보자.
4. Terraform Cloud와 Github 연동 (Version Control)
Version Control 설정을 위해 Settings에 들어가 아래와 같이 진행한다.


github 계정 아이디 비밀번호를 입력한다.


연동이 되면 github에 이전에 만들었던 github의 terraform-cloud repository가 보이게 된다.
해당 repository를 선택한다.

github의 코드 변경사항이 감지될 때마다 테라폼 Plan이 자동으로 실행 되게 Always trigger runs을 선택한다.

Github와 연동이 된 것을 확인할 수 있다.

5. git push를 통한 Terraform Cloud 트리거
실제로 git 저장소의 변경이 일어났을 때 Plan 트리거가 되는지 확인해 보자.
로컬 테라폼 코드를 변경 후 github에 push 한다.
## git add
$ git add <test.tf>

## git commit
$ git commit -m "test"

## git push
$ git push origin master
Username for 'https://github.com': ## github id 입력
Password for 'https://jwhong-3004@github.com': ## github 비밀번호 또는 access token 입력
Enumerating objects: 5, done.
Counting objects: 100% (5/5), done.
Delta compression using up to 2 threads
Compressing objects: 100% (3/3), done.
Writing objects: 100% (3/3), 417 bytes | 417.00 KiB/s, done.
Terraform Cloud에서 Planning 되는 것을 볼 수 있다.
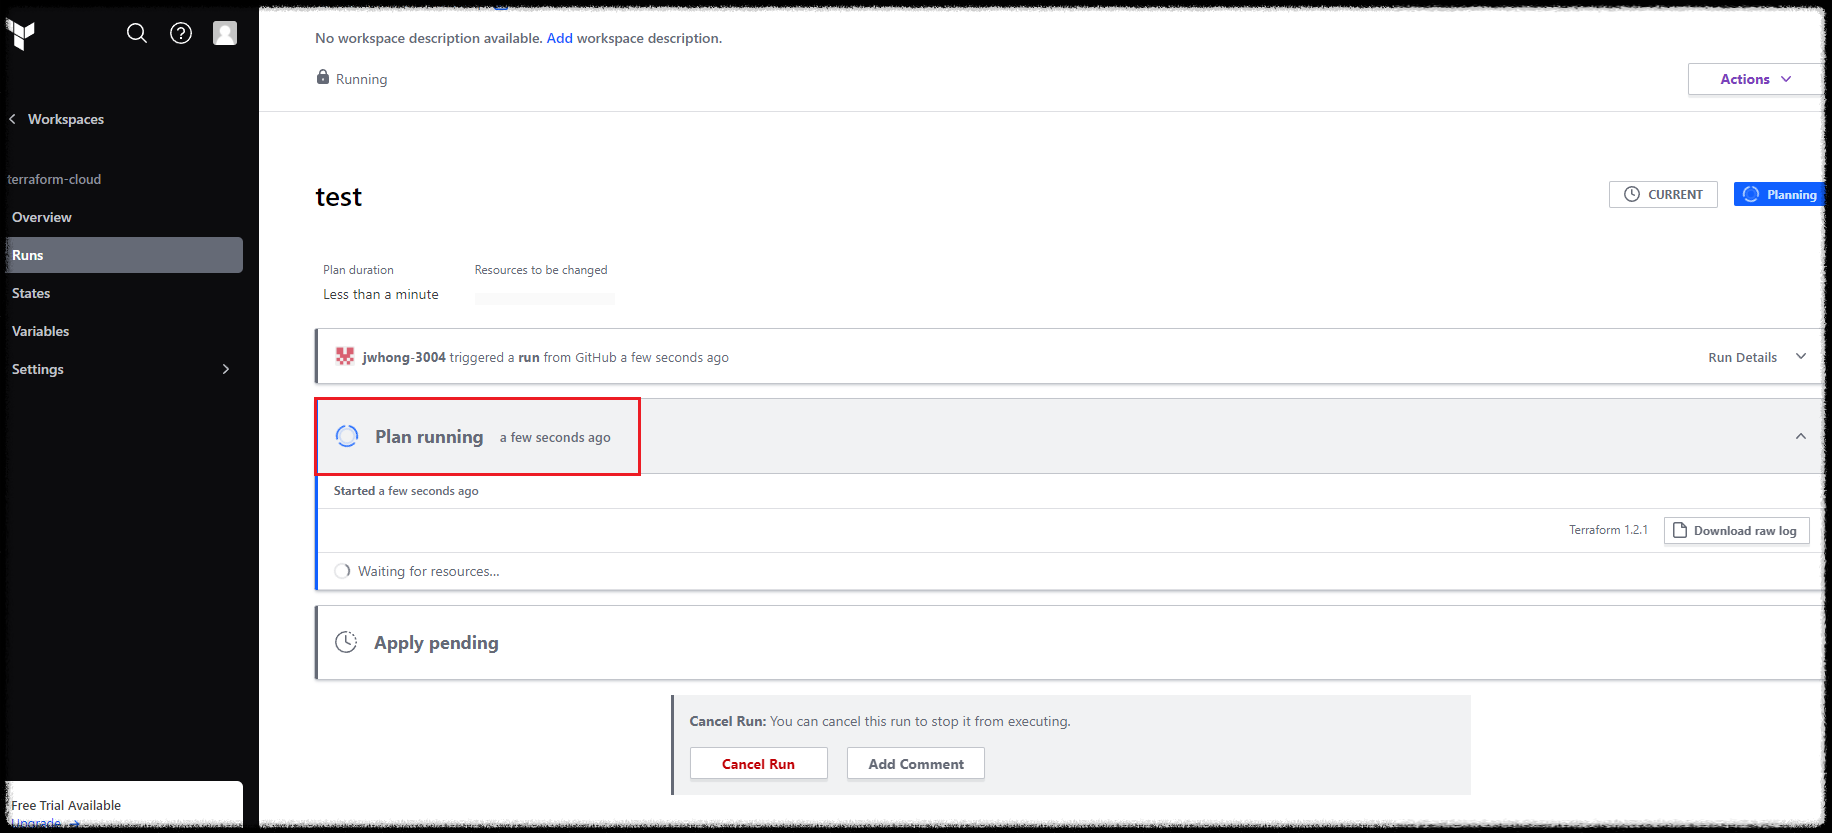
좀 더 자세히 보기 위해 See details를 눌러보자.

Plan running 상태를 확인할 수 있다.
Plan이 끝나면 변경사항을 확인할 수 있다. 확인이 끝나면 Confirm & Apply로 적용해 보자.

Apply가 끝나면 아래와 같은 화면을 볼 수 있다.

마치며
이와 같이 github와 Terraform Cloud를 이용해서 Terraform 코드로 프로비저닝 하는 실습을 해보았다.
로컬 환경보다 반응, 적용 속도가 느리긴 하지만 협업과 안정성이 절대적인 현업에서는 위와 같은 구성으로 사용하는 것이 보다 안정적인 운영 환경을 가져가는 데에 도움이 될 것이다.
'IaC > Terraform' 카테고리의 다른 글
| [Terraform Cloud] Drift Detection이란? (0) | 2024.03.05 |
|---|---|
| [Terraform Cloud] Agent 개념 및 사용 방법 (0) | 2024.02.29 |
| [Terraform Cloud]를 활용한 Kubernetes Provider 동적 자격 증명 구성(Dynamic Provider Credentials) (0) | 2024.01.09 |
| [Terraform Cloud]를 활용한 AWS Provider 동적 자격 증명 구성(Dynamic Provider Credentials) (0) | 2024.01.09 |
| [Terraform] + Vault AWS AssumeRole 연동 (0) | 2023.04.24 |


댓글